
Starting our Journey
Using Heroku to deploy your app in just a few minutes

This journey starts where many startup journeys have started with Heroku (https://www.heroku.com/). All you need for this step is a code base1, a knowledge of git, a Heroku account. You can start the Heroku account without a credit card, but you will need one added to the account eventually. Optionally, you should have a domain name. Heroku doesn’t require it, but https://www.mycompany.com/ looks better than https://mycompany-061176ffb876.herokuapp.com/. And many things on Heroku will be easier if you install the Heroku CLI. So, let’s get started.
Go to your Heroku dashboard and create a new web app.
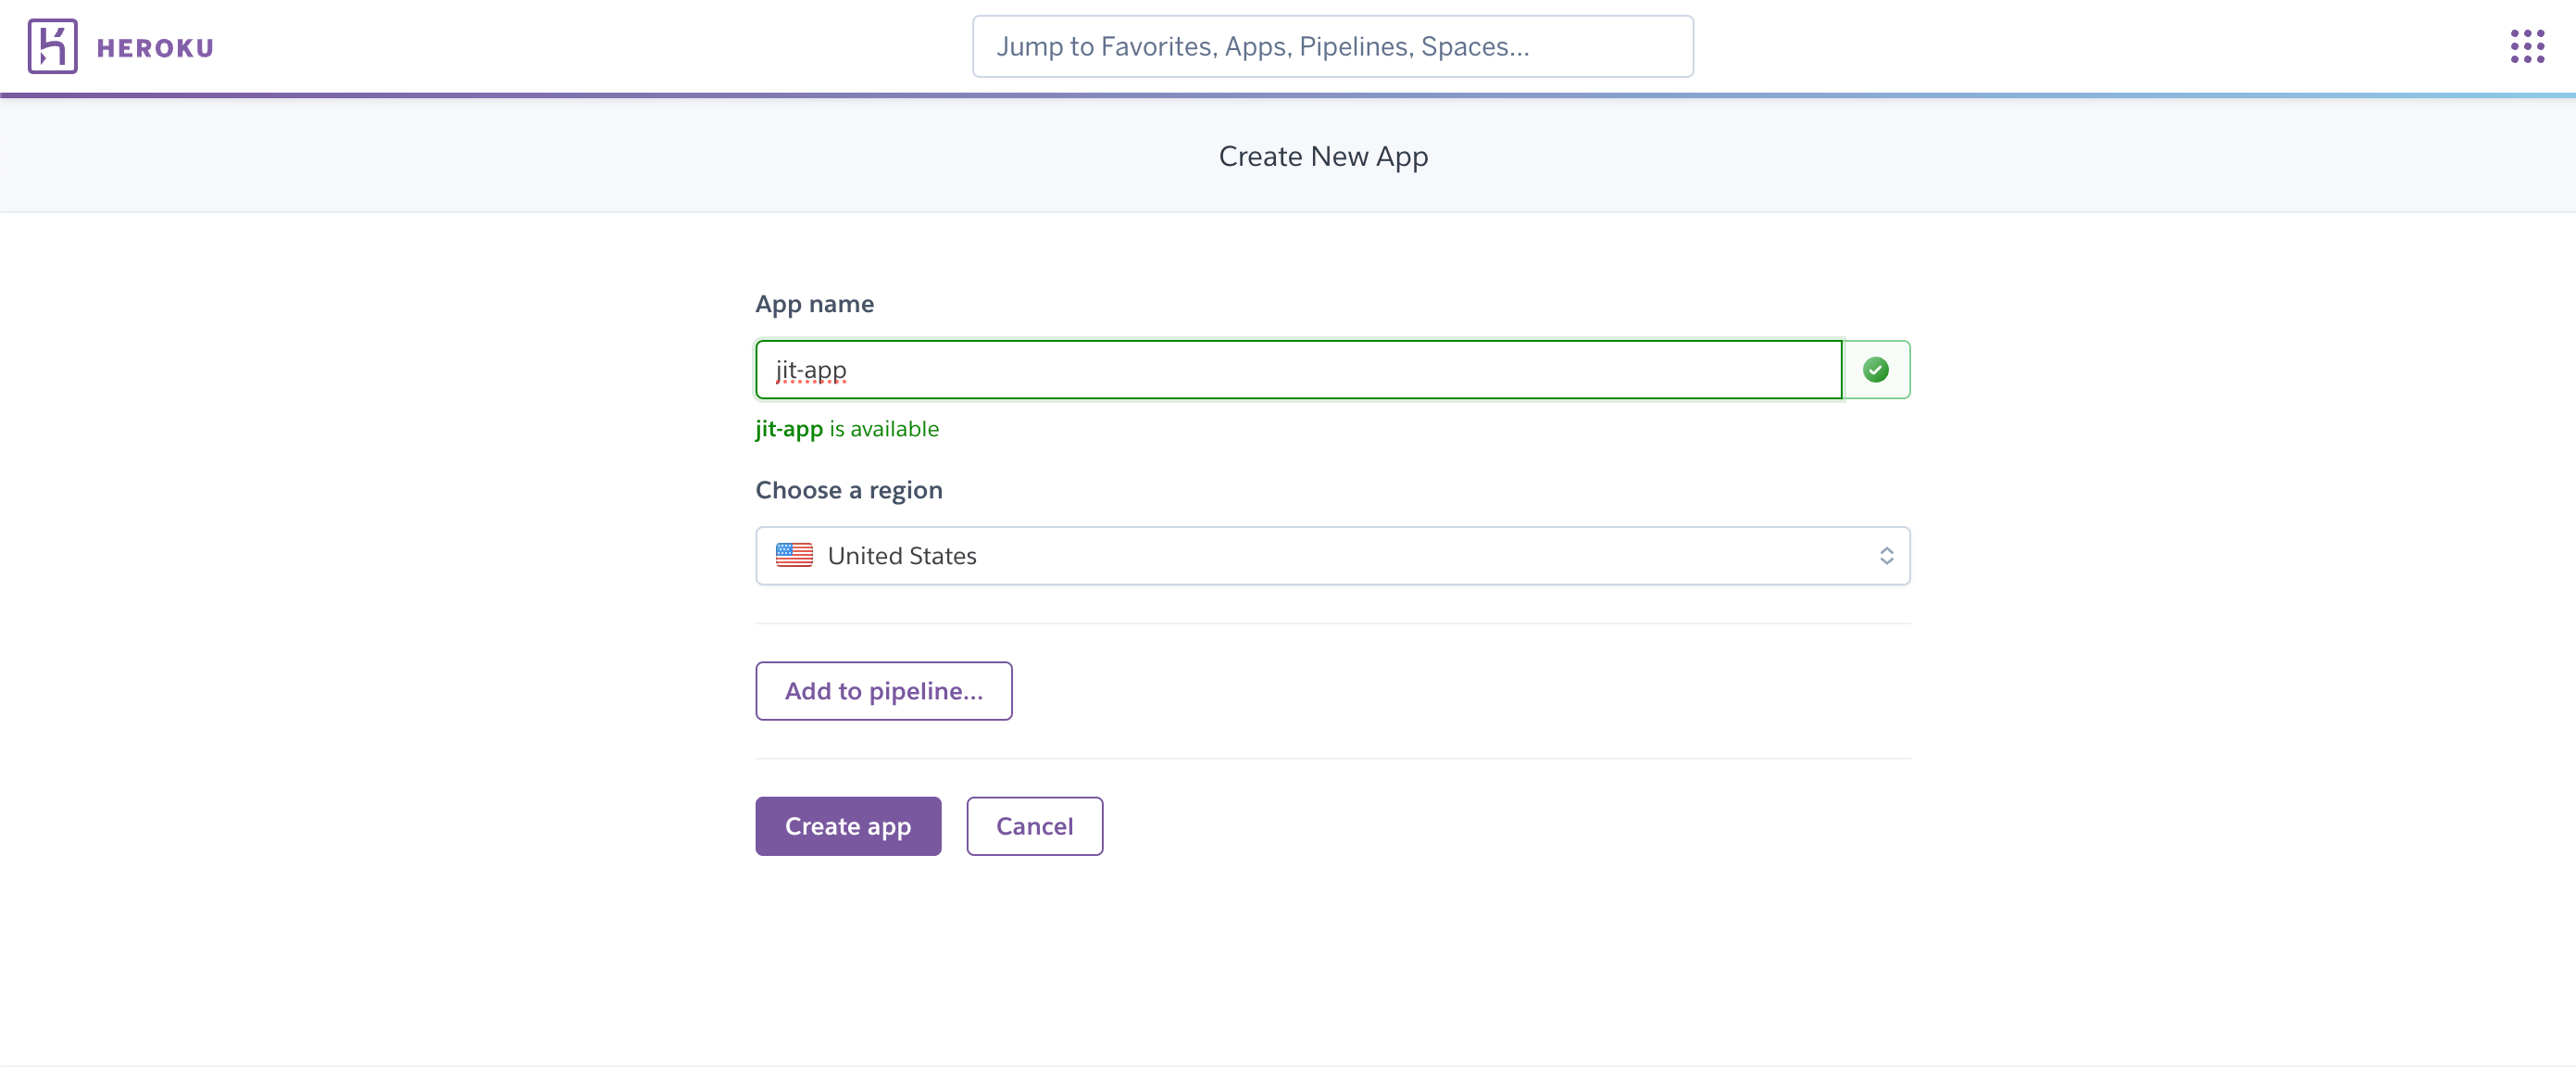
One thing to be aware of is that the app name needs to be unique. Not just unique to your account, but to Heroku as a whole. Find your name and press the ‘Create app’ button. Don’t worry about the ‘Add to pipeline…’ button right now, we’ll get to pipelines in a later lesson And you will be able to switch to a pipeline later.
Now that you have the Heroku app created, let’s connect it to your code. Go into your code directory and run the command ‘heroku git:remote -a <yourappname>`. This will create a git remote name heroku. So if you already have an origin git remote, then this won’t overwrite it, but you will need to remember to push to heroku remote, not origin. Push your code to Heroku with the command `git push --set-upstream heroku main` to push the code to a branch main on Heroku.
Minor digression time. Heroku is not only your server provider, it’s also your code repository. You push your code, through git, to Heroku and it can take it from there to build and deploy to a server. So you don’t need to have a GitHub or Gitlab account to store your code, although later on you might want one.
Now that you’ve pushed your code to Heroku, it’s time for Heroku to work it’s magic. It takes your code and determines what type of code it is builds it and deploys out to a server. If you go to the Overview tab for your app, you’ll see four items with a verison number next to each of them. ‘Initial Release’, ‘Enable Logplex’, ‘Build Succeeded’ and ‘Deployed’. If you click on the ‘View Build Log’ below the ‘Build Succeeded’ message, then you can see all the steps Heroku took to build and deploy your app. This is important to help you debug if you have something other than a ‘Build Succeeded’ message.
Your app is now live. Congratulations you have an app deployed on a server.
What if I don’t have a natively supported language, then you need to take some additional steps. Go to the Heroku marketplace at https://elements.heroku.com/buildpacks and find a buildpack for your language. For instance the .NET Core buildpack is at https://elements.heroku.com/buildpacks/jincod/dotnetcore-buildpack. There will be instructions on how to add the buildpack via the Heroku CLI or you can go to the Setting tab on your app and click the ‘Add buildpack’ button. You can either add in the shortname of the buildpack (jincod/dotnetcore) or the full URL (https://github.com/jincod/dotnetcore-buildpack). Once you have the new build pack, you will need to push the code to Heroku again to have it build.
Next time we’ll take a further look at your Heroku app.
Important Info: Heroku only natively supports Ruby, Python, Node.js, PHP, Go, Java, Scala, and Clojure. If you aren’t using one of those, then we’ll take a look at what to do below